Hello every one! I would like to introduce you all to my first ever bottle of jam. I am so hooked!
Update: This bottle of jam was featured on Yummly's 10 Fruity Fall Jams for National Canning Day
Update: This bottle of jam was featured on Yummly's 10 Fruity Fall Jams for National Canning Day
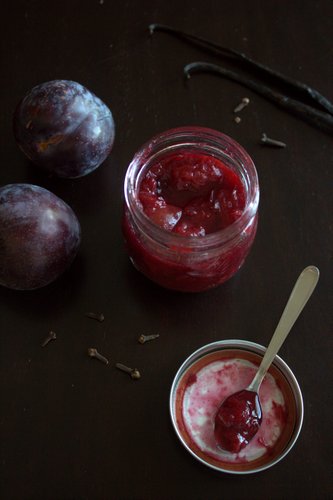
Ok first of all the difference between preserve and jam apparently is that in preserve there are chunks of fruit whereas jam is more smooth with the fruit having been crushed or pureed, and jelly is even more smooth being made from the fruit juice and not the pulp. This one is full of soft spreadable plum chunks so it is a preserve, and not jam but I'm going to use the terms interchangeably, ok?
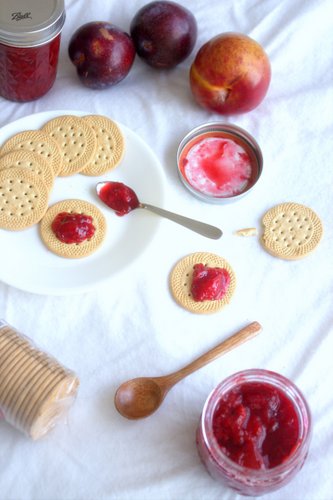
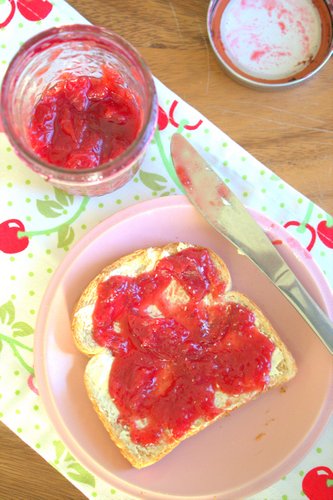
My mom makes a very sweet banana jam popular in banana abundant Kerala, with a surprisingly natural red hue, which was a favourite of mine growing up. She used to make it to take to my college hostel- my roomies and I would spread the runny jam on Marie biscuits as a midnight snack! I think I ate too much of it though, because now I've become a lot more finicky about my jam and do not like it overly sweet, and prefer to let the taste of the fruit shine through. If you love jam then you MUST make yours at home too. It is so easy and it knocks the socks of supermarket jam. Best of all you can make your own flavour combinations to spread on toast ( try it in between your grilled cheese sandwich!) , crackers, spoon over dessert or serve with yogurt or cheese...
Just in case I do pine for a taste of summer, all I have to do is open up one of my many bottles of spiced plum jam!
Recipe for Small Batch Plum Preserve
Recipe adapted from: Epicurious with tips from Patty of Patty's Food
Yield: Makes about 3 half pint bottles of jam, recipe can be easily doubled or tripled.
Ingredients:
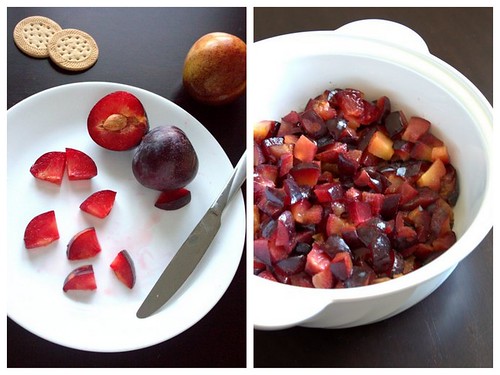
Directions:
Place a plate or bowl in the freezer ( preferably a steel one)
Coarsely chop the plums after pitting into large chunks ( if you are using organic plums, no need to peel them)
Stir together with the water, sugar and cloves in a large (2 quart or more) pot, saucepan or dutch oven.
Slit and scrape the inside of the vanilla bean and add it along with the bean to the saucepan.
Place on medium heat until it reaches a simmer and then reduce heat to low.
Let it simmer, stirring occasionally so that it does not get stuck to the bottom of the pan, especially towards the end when the jam starts to thicken and reduce (in about an hour)
Pick out the cloves and vanilla bean before bottling.
Notes:
To check that the jam is done, put a drop of the jam on the cold plate from the freezer.
Tilt the plate and if the drop of jam runs down then that means that the jam needs to cook some more.
Another way to check is to run a spoon through the jam in the pot and it should leave a channel or a trail ( think parting of the red sea!) for a few seconds before getting filled up again.
I don't mind my jam being a little runny, but I make sure that I don't over cook it so that the fruit still tastes bright and the texture is not too hard or gummy.
If you jam is still too runny, you can use it as a delicious topping for yogurt, ice cream or other desserts too! So don't worry, get jamming!
Storage:
You can store your jam in clean and dry containers in the fridge. If you want to keep it longer than a month or so and plan to store it out of the fridge, you should can it, following the guide lines here
Yield: Makes about 3 half pint bottles of jam, recipe can be easily doubled or tripled.
Ingredients:
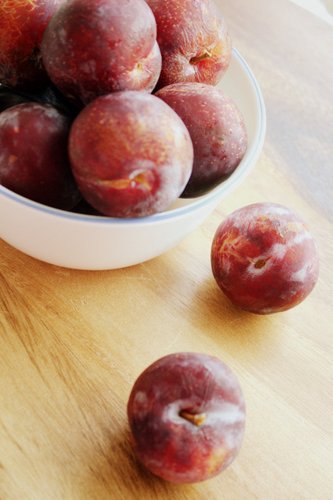
- 2 pounds plums or pluots ( I used a delicious variety fom Kashiwase Farms called Flavour King)
- 1/2 cup sugar
- 1/2 cup water
- 4 cloves or 1 stick cinnamon or other spice of your choice
- 1/2 vanilla bean (optional)

Directions:
Place a plate or bowl in the freezer ( preferably a steel one)
Coarsely chop the plums after pitting into large chunks ( if you are using organic plums, no need to peel them)
Stir together with the water, sugar and cloves in a large (2 quart or more) pot, saucepan or dutch oven.
Slit and scrape the inside of the vanilla bean and add it along with the bean to the saucepan.
Place on medium heat until it reaches a simmer and then reduce heat to low.
Let it simmer, stirring occasionally so that it does not get stuck to the bottom of the pan, especially towards the end when the jam starts to thicken and reduce (in about an hour)
Pick out the cloves and vanilla bean before bottling.
Notes:
To check that the jam is done, put a drop of the jam on the cold plate from the freezer.
Tilt the plate and if the drop of jam runs down then that means that the jam needs to cook some more.
Another way to check is to run a spoon through the jam in the pot and it should leave a channel or a trail ( think parting of the red sea!) for a few seconds before getting filled up again.
I don't mind my jam being a little runny, but I make sure that I don't over cook it so that the fruit still tastes bright and the texture is not too hard or gummy.
If you jam is still too runny, you can use it as a delicious topping for yogurt, ice cream or other desserts too! So don't worry, get jamming!
Storage:
You can store your jam in clean and dry containers in the fridge. If you want to keep it longer than a month or so and plan to store it out of the fridge, you should can it, following the guide lines here


